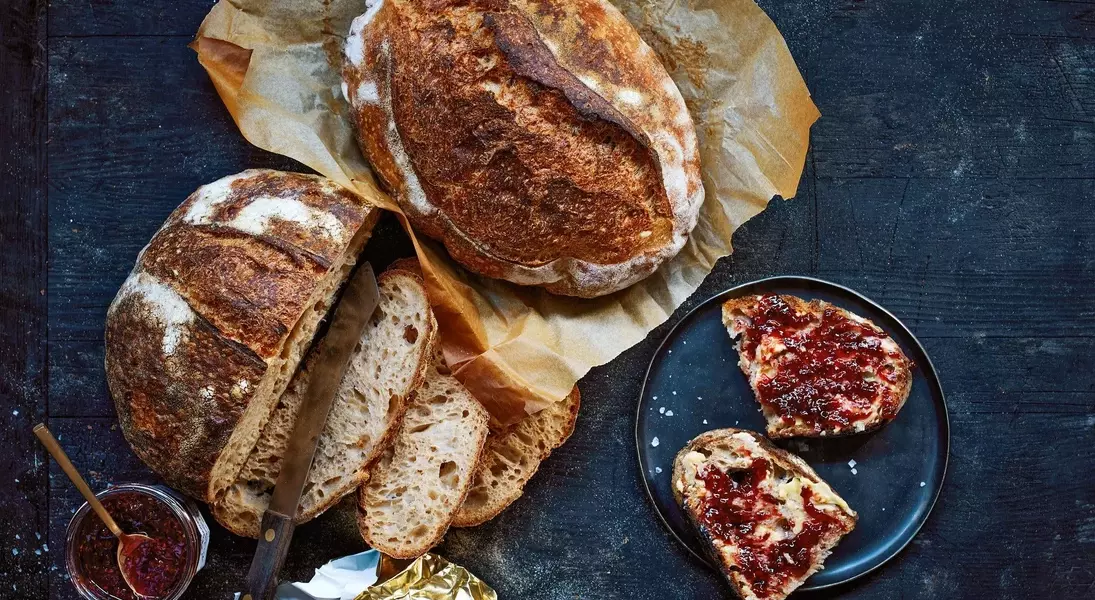
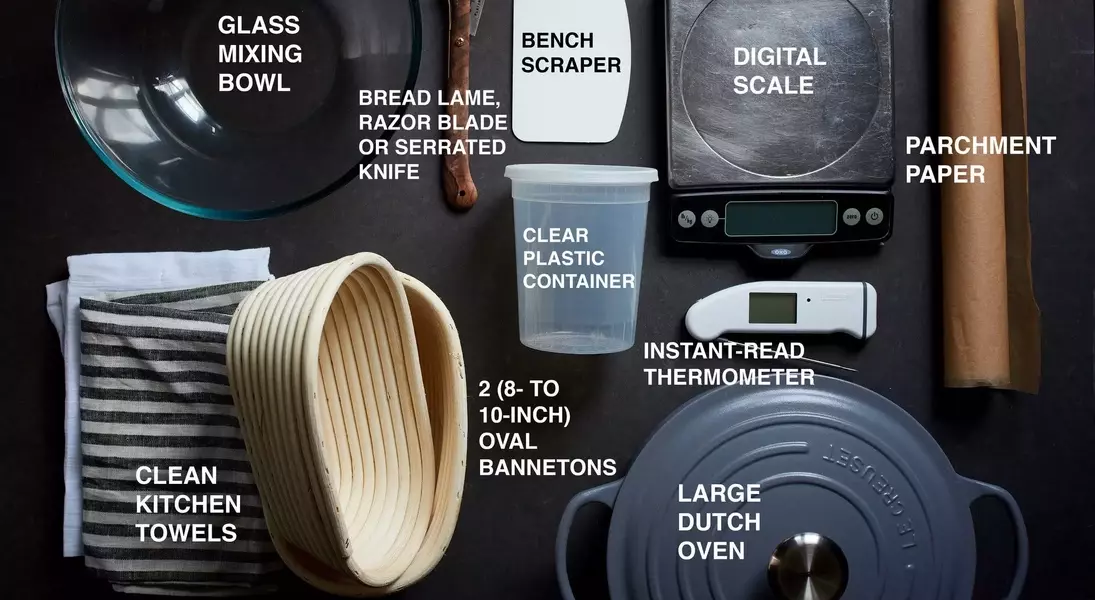


Embarking on the journey of creating sourdough bread involves a series of steps that blend science and art. With Claire Saffitz's guidance, you can produce loaves with a crisp exterior and light interior. This process demands dedication over several days but rewards you with authentic homemade sourdough. The article outlines each phase from starter preparation to baking, detailing necessary equipment and techniques.
From feeding your starter to shaping and proofing the dough, every step contributes uniquely to the final product. By understanding gluten formation through autolyse and ensuring proper fermentation, bakers gain insight into what makes their bread rise beautifully. Patience during bulk fermentation and precise timing for proofing ensures optimal flavor development while slashes before baking enhance even expansion in the oven.
The Foundation: Starter and Dough Preparation
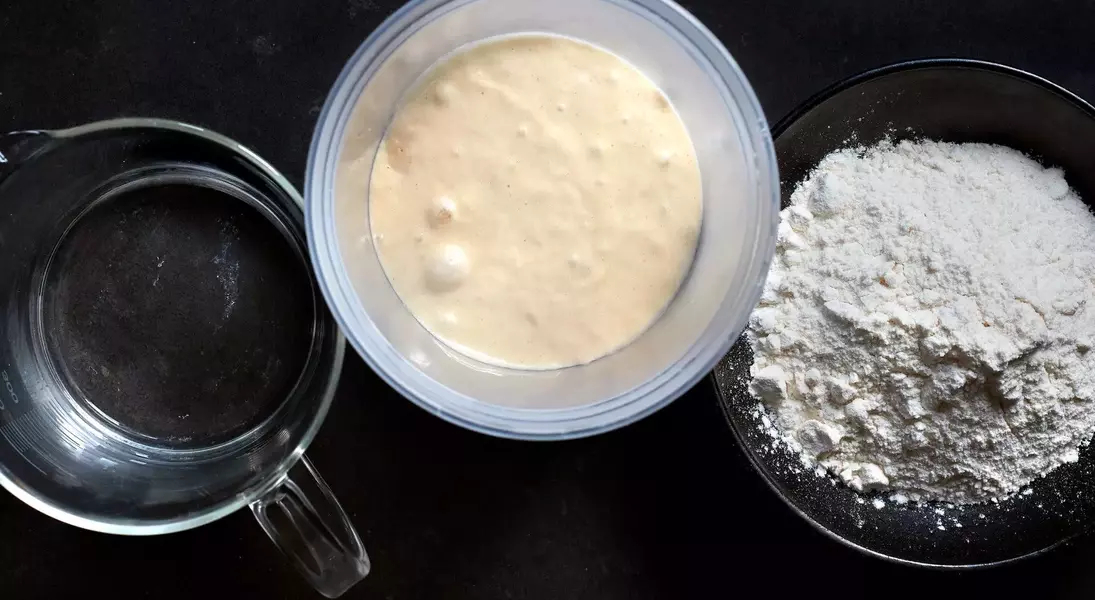
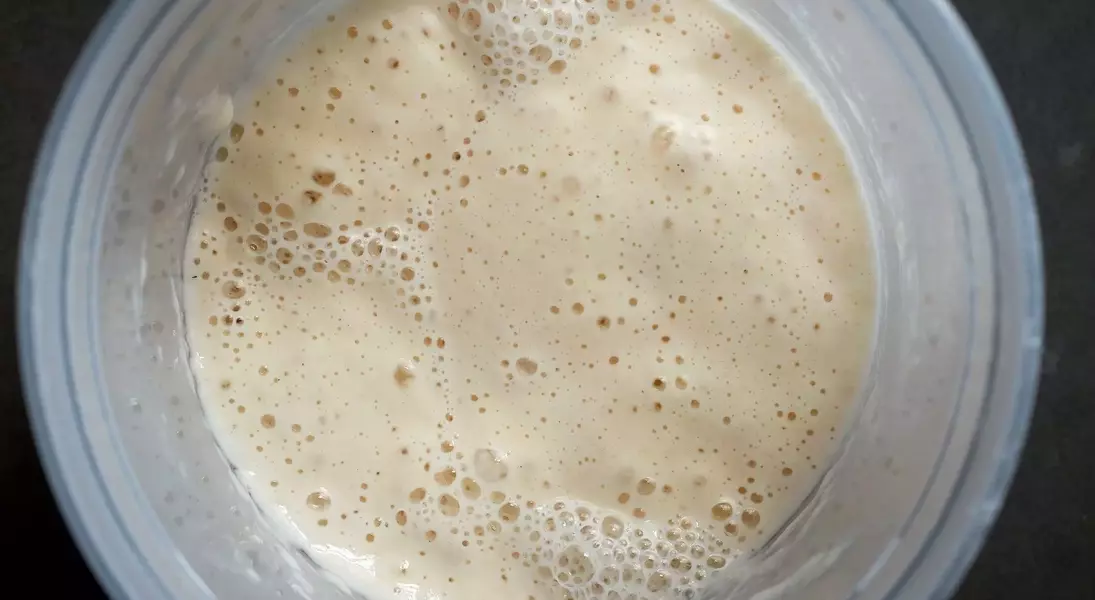
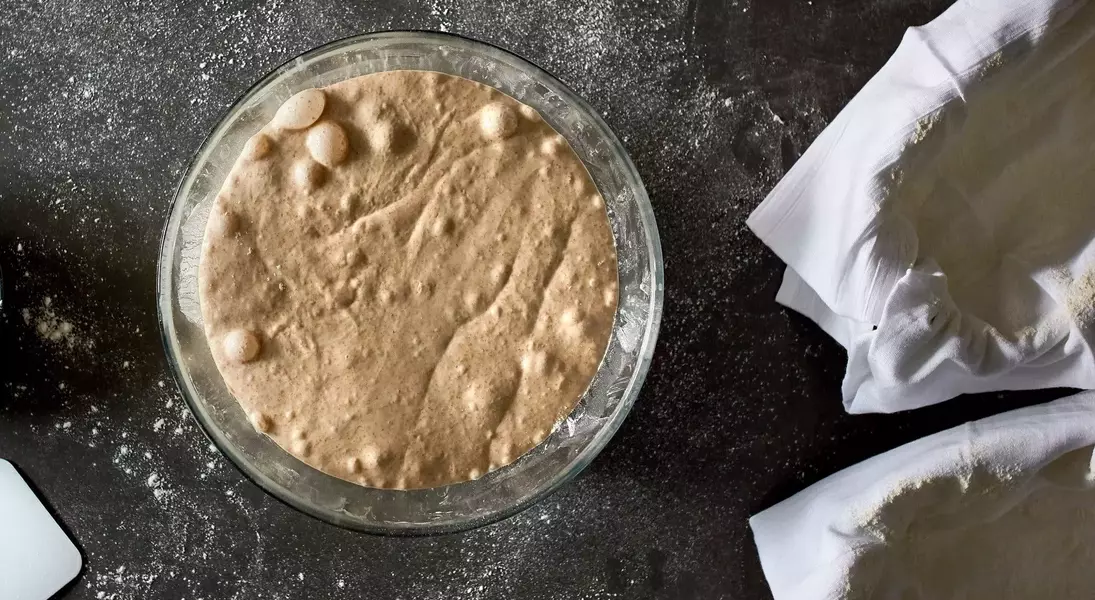
In this section, we delve into the initial stages of preparing your sourdough starter and mixing the dough. Understanding these foundational steps is crucial as they set the stage for everything else that follows. Your starter must be refreshed twice over 24 hours to ensure it's active enough to leaven the dough effectively.
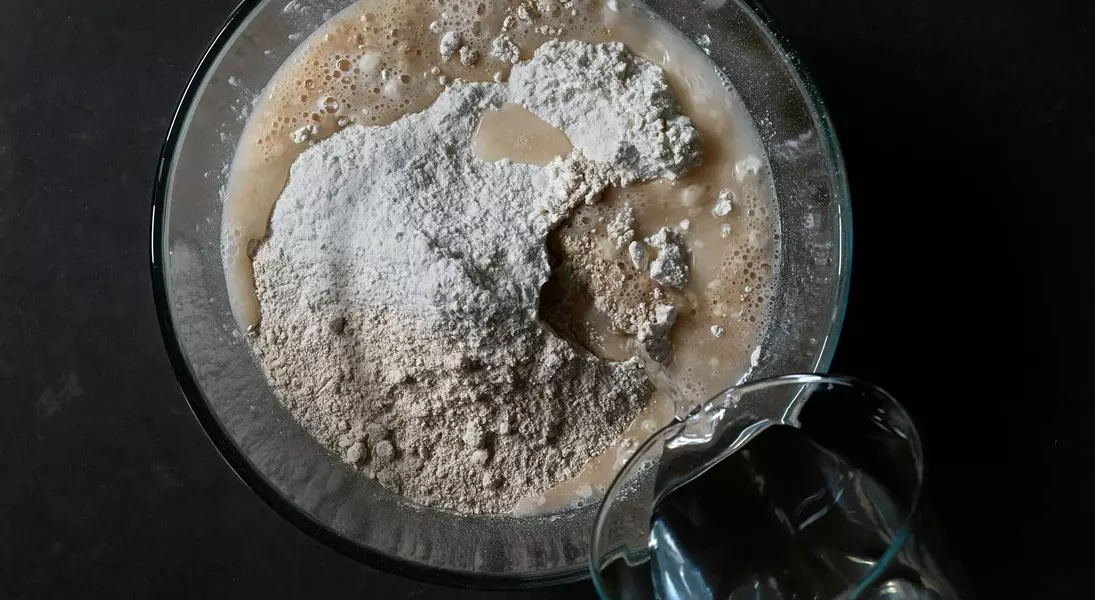
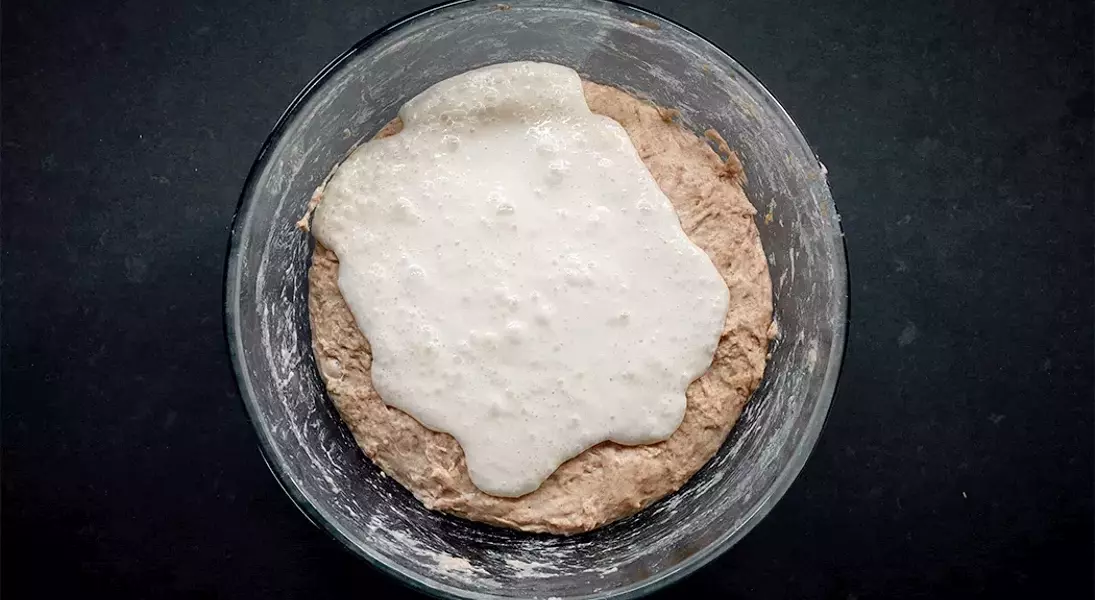
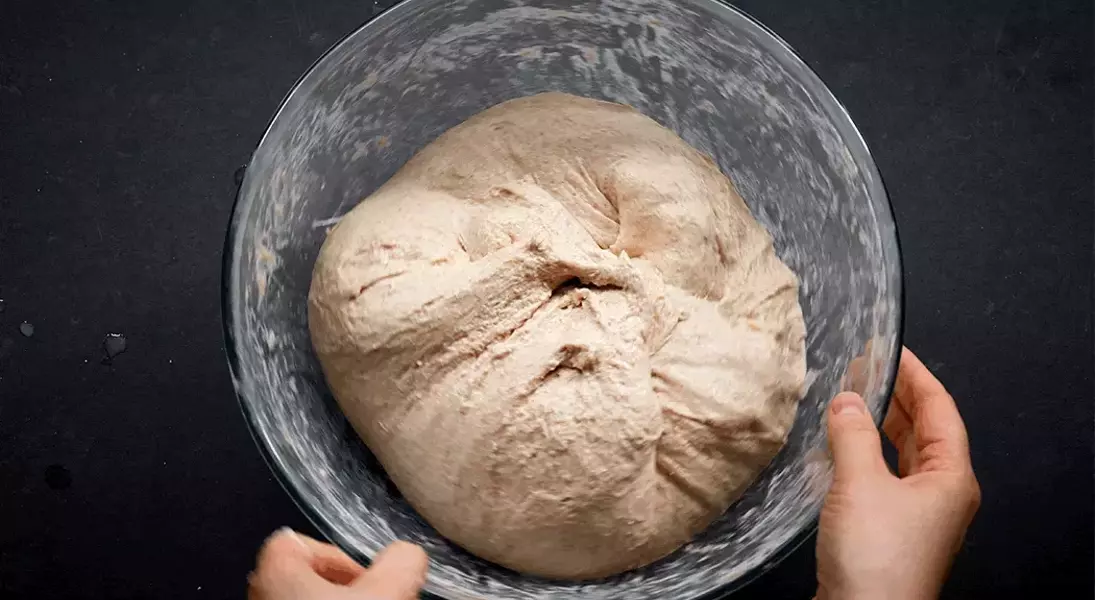
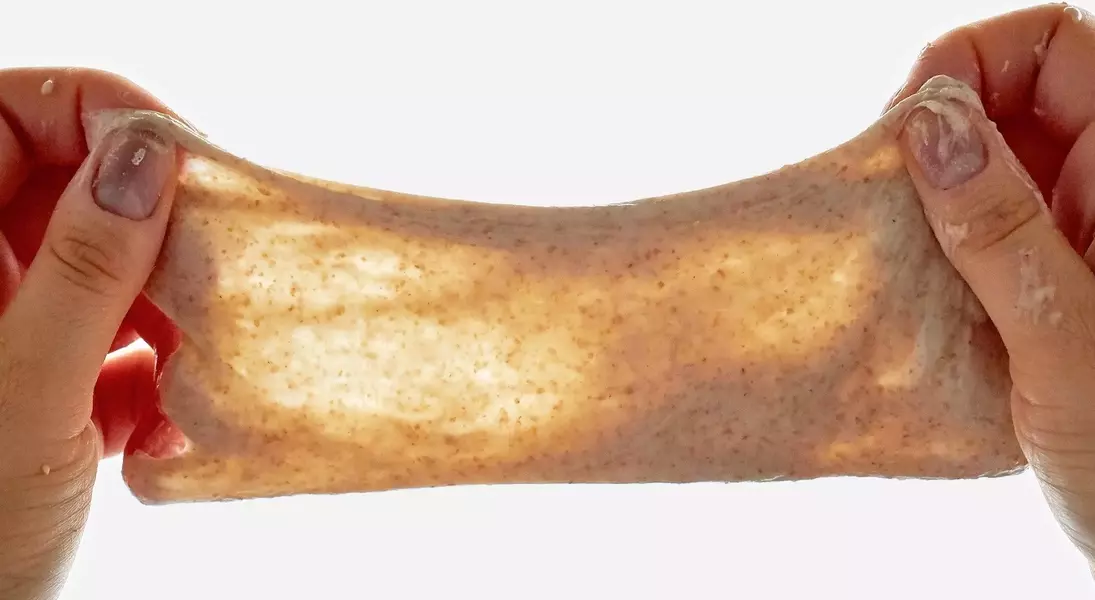
Mixing flour and water using an autolyse technique allows proteins within the flour to hydrate fully, forming essential gluten networks. Once your starter passes the float test indicating readiness, incorporate it gently into the hydrated flour mixture along with salt. Kneading builds strength by developing more gluten strands which trap gases produced during fermentation. Techniques like the windowpane test help verify whether sufficient gluten has formed before moving onto bulk fermentation where yeast activity creates both gas and complex flavors.
The Journey to Baking: Shaping, Proofing, and Baking
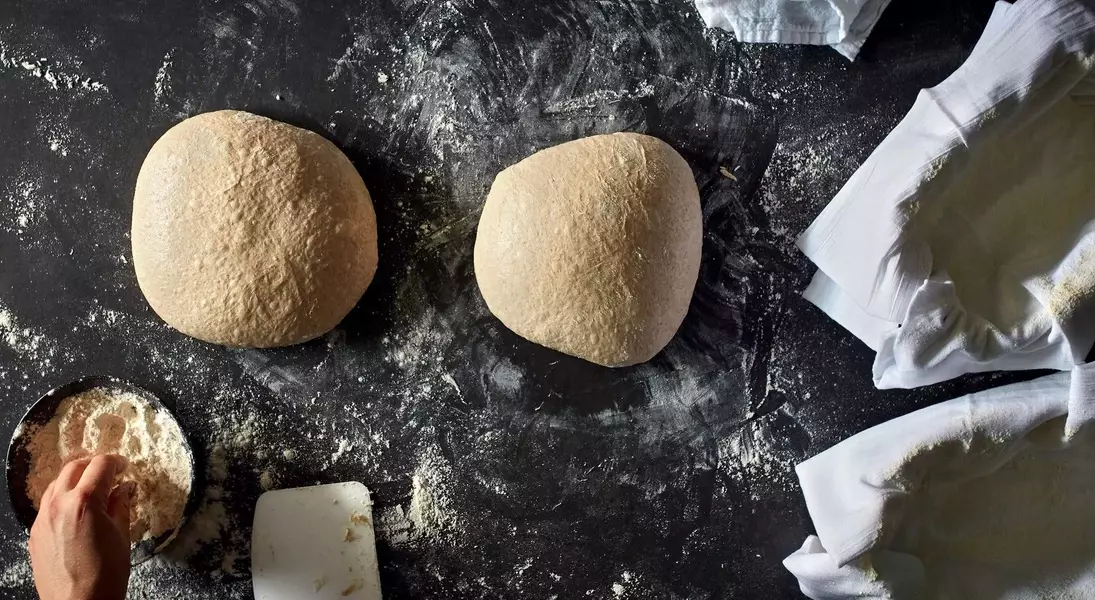
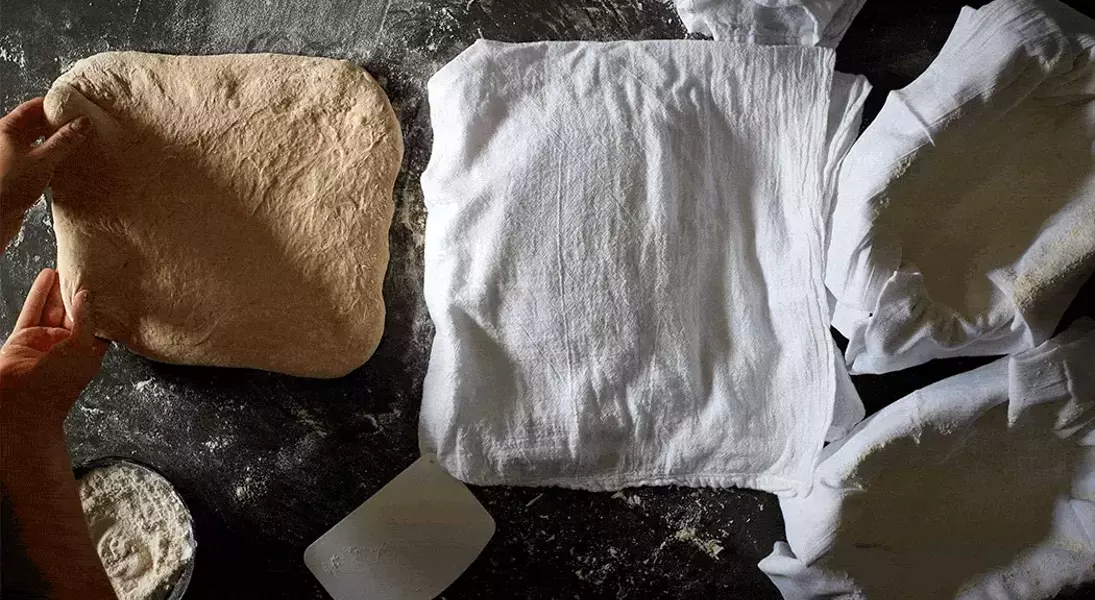
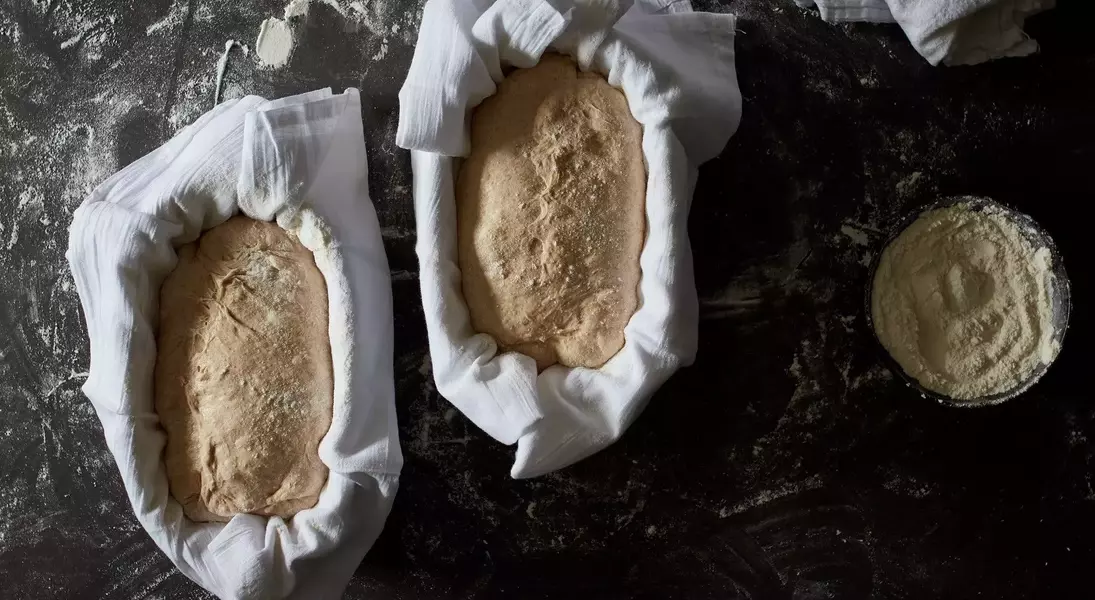
This segment explores shaping techniques alongside proofing methods critical for achieving well-structured loaves. After dividing and pre-shaping your dough, allowing it to rest relaxes gluten fibers making final shaping easier. Properly shaped dough placed inside floured baskets undergoes proofing until doubled in size signaling readiness for chilling overnight enhancing taste profiles.
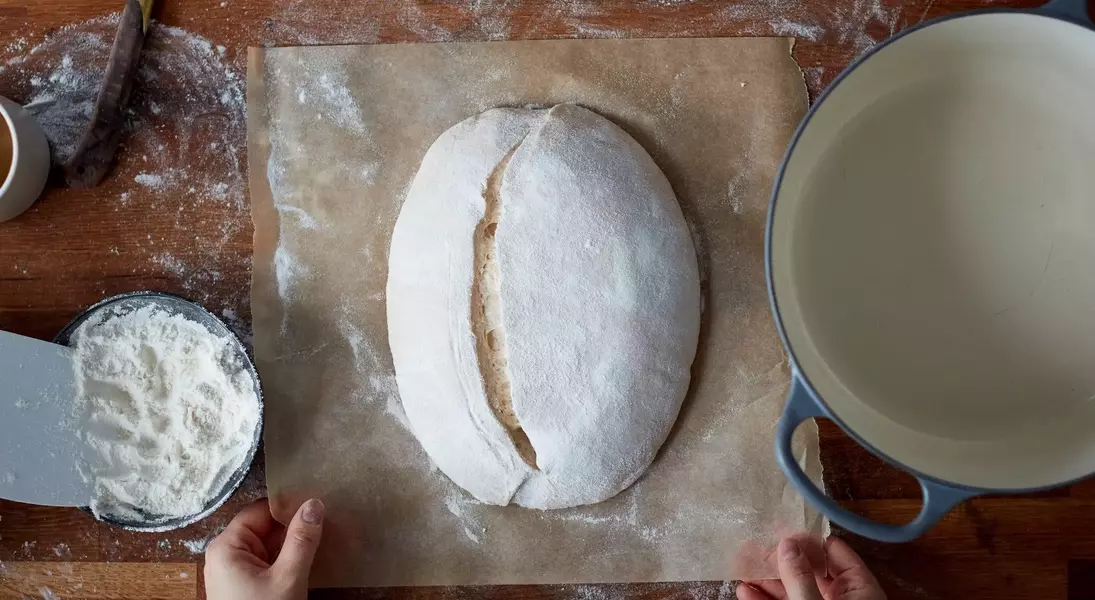
Once chilled adequately, prepare your oven equipped with a Dutch oven capable of trapping steam vital for good crust formation. Transfer the cold dough carefully onto parchment paper ensuring no tears occur during handling since maintaining structure supports maximum expansion inside hot ovens. Scoring patterns strategically release internal pressure allowing controlled growth resulting in aesthetically pleasing results. Following specific temperature adjustments throughout baking guarantees deep browning while preserving soft interiors characteristic of excellent sourdough craftsmanship.
