

Crafting a gingerbread house is an engaging and rewarding activity that connects us with cherished holiday traditions. This guide, enriched by insights from former White House pastry chef Bill Yosses, provides a comprehensive walkthrough for creating your own edible masterpiece. From preparing the dough to assembling and decorating the structure, each step is designed to be manageable and enjoyable.
Essential Tools and Ingredients for Your Gingerbread Creation
Gathering the right materials is crucial for a successful gingerbread house project. Begin by collecting essential baking tools such as a scale, rolling pin, ruler, parchment paper, and silicone mats. For cutting precision, have both large and small knives ready alongside cookie cutters. Assemble supporting items like jars and mugs for propping up walls during drying. Additionally, prepare electric tealights and hard candies for optional stained-glass windows, enhancing the festive appeal of your creation.
To ensure structural integrity, gather sturdy boards or cutting panels measuring approximately 18-20 inches square. These will serve as the foundation for your gingerbread house. Equip yourself with sealable plastic bags functioning as makeshift pastry bags and offset spatulas for smoothing icing. The recipe requires precise measurements of confectioners' sugar, egg whites, and lemon juice to produce royal icing, which acts as adhesive and decorative element. By organizing these components beforehand, you set the stage for a seamless crafting experience.
Constructing and Decorating Your Edible Masterpiece
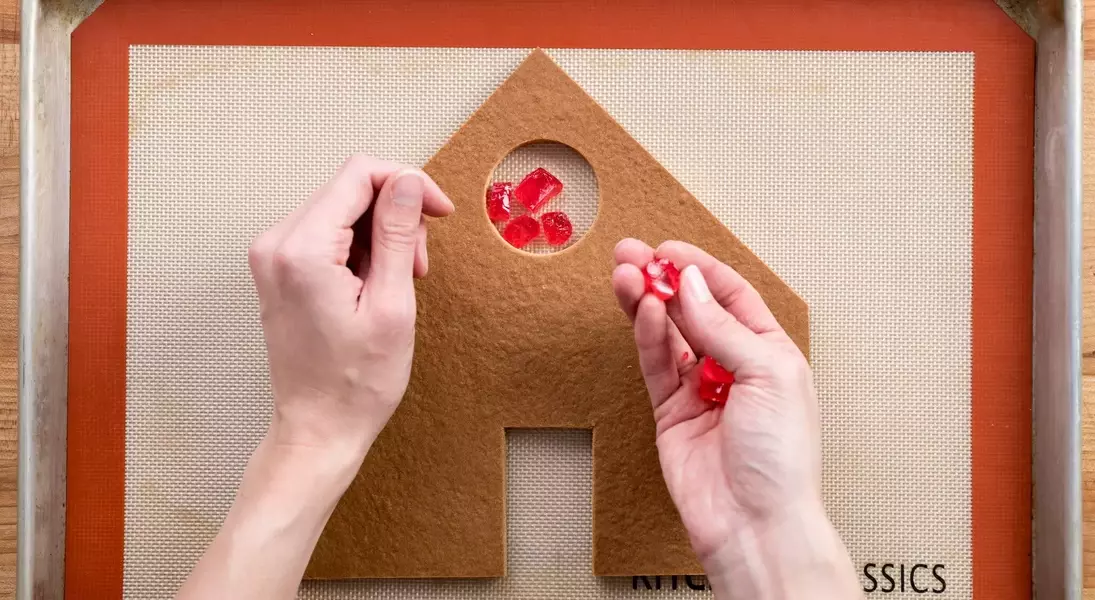
With all necessary tools at hand, proceed to bake and shape the gingerbread slabs into walls and roof pieces according to provided templates or manual measurements. Carefully trim edges, saving leftover bits for later decoration purposes. Utilize rulers and sharp knives to achieve accurate cuts, ensuring symmetry in design. Optional features include carving doorways and windows, adding interactive elements to your house. Bake additional stained-glass windows using hard candies melted within designated openings, elevating visual interest.
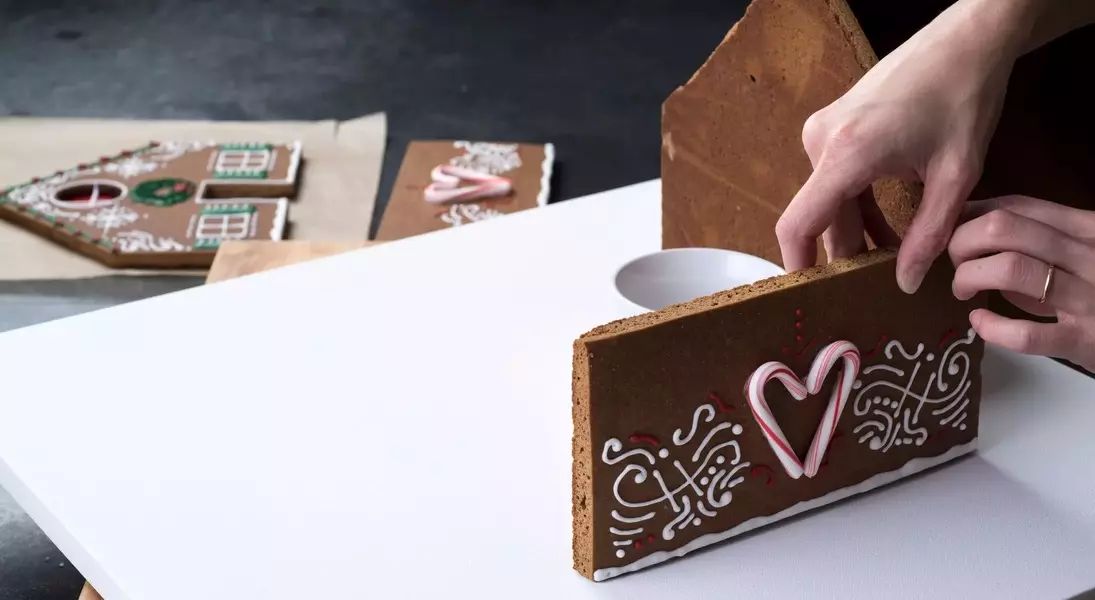
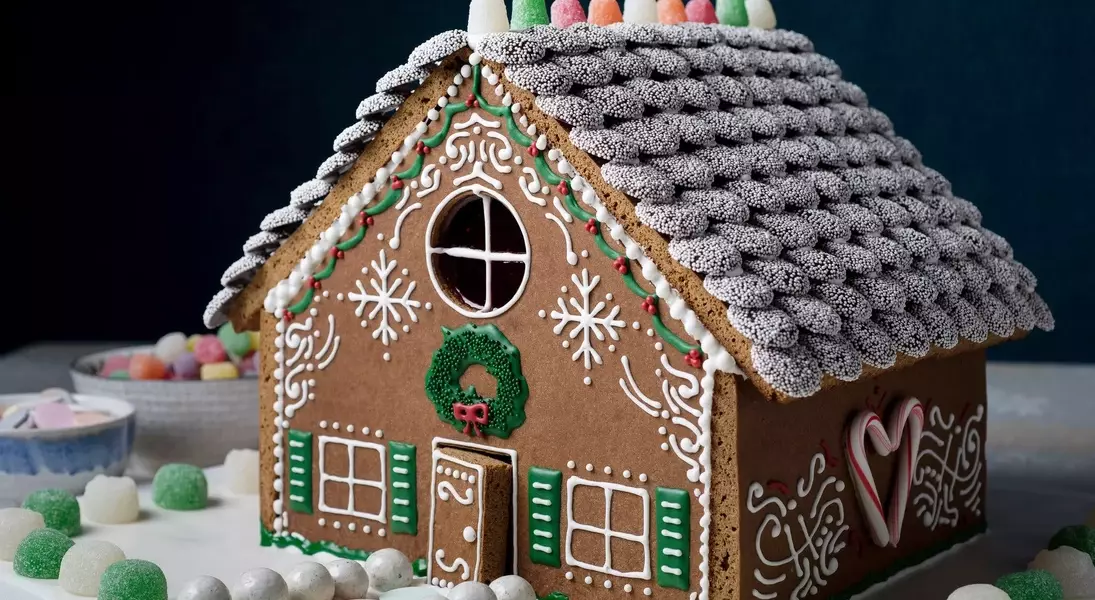
Once structural components are prepared, focus on embellishing surfaces before assembly. Royal icing serves dual functions as bonding agent and artistic medium. Customize piping techniques by adjusting consistency through varying proportions of ingredients. Experiment with patterns such as snowflakes, garlands, and curlicues to personalize architectural details. After completing individual wall decorations, commence construction phase by securing pieces together with hardened icing bonds. Employ strategic support systems while joining walls and attaching roofs, allowing sufficient drying time between steps. Finally, unleash creativity during final decorating stages, choosing between elegant snowy themes featuring natural textures or vibrant colorful schemes incorporating assorted candies. Both approaches offer opportunities to express unique styles while celebrating seasonal joy.
