In the expansive world of The Blood of Dawnwalker, adventurers embarking on the 'A Pilgrimage for Power' quest face the daunting task of unearthing every sacred stone scattered across the realm. This journey, while challenging, is crucial for unlocking potent abilities. Fortunately, this guide provides a clear roadmap to success, detailing the locations of these elusive stones and offering strategies to overcome the trials that guard them. Whether players choose to uncover these secrets through diligent exploration or by following a specific questline, the path to power is now illuminated.
Detailed Expedition: Unveiling the Sacred Stones of Dawnwalker
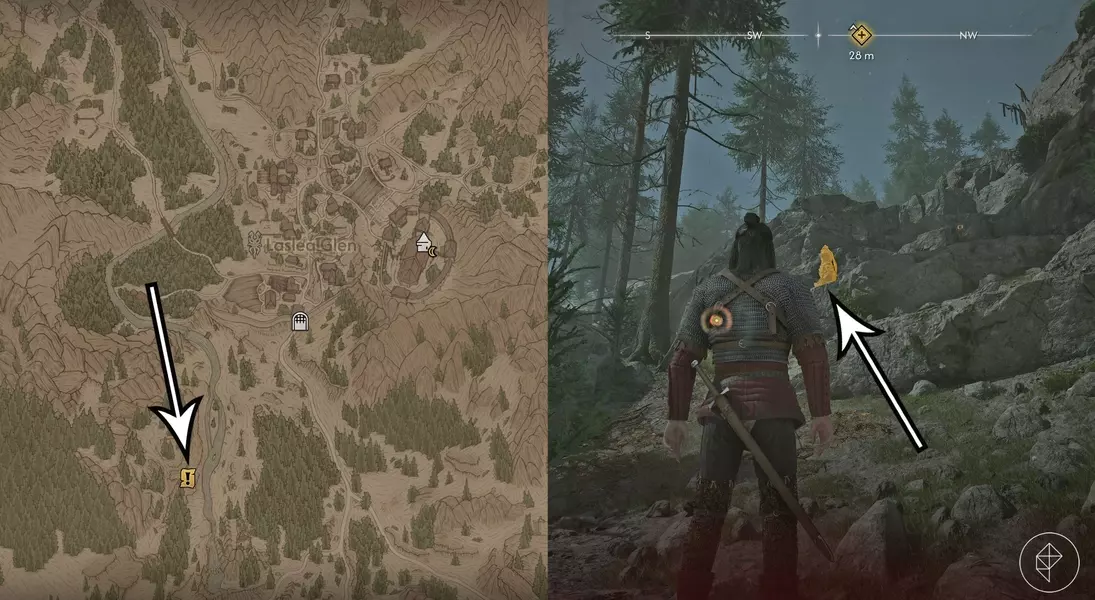
The quest 'A Pilgrimage for Power' can be initiated either by completing 'A Mother's Plea' or by discovering a sacred stone organically within the game's environment. A common starting point is near a quest marker situated just south of Laslea Glen, typically encountered shortly after the prologue. Here, mystical wind chimes guide the way up a mountain path, signaling the beginning of this epic undertaking.
For those who prefer a narrative-driven approach to uncovering the sacred stones, a specific series of quests must be undertaken. This begins with investigating an alley in northeast Svartrau, north of the cathedral, to pick up 'A Friend Like This'. Following its completion, players proceed to 'Song of the Mountain'. The critical step then involves accepting 'A Mother's Plea' by assisting the Elder in Uriash Village. This quest further requires the completion of its sub-quest, 'The Heart Wants What it Wants'. Upon returning to Uriash Village and concluding 'A Mother's Plea', the Elder will graciously reveal the locations of all sacred stones on your map, provided you've maintained a civil demeanor and offered your aid without resorting to aggressive actions.
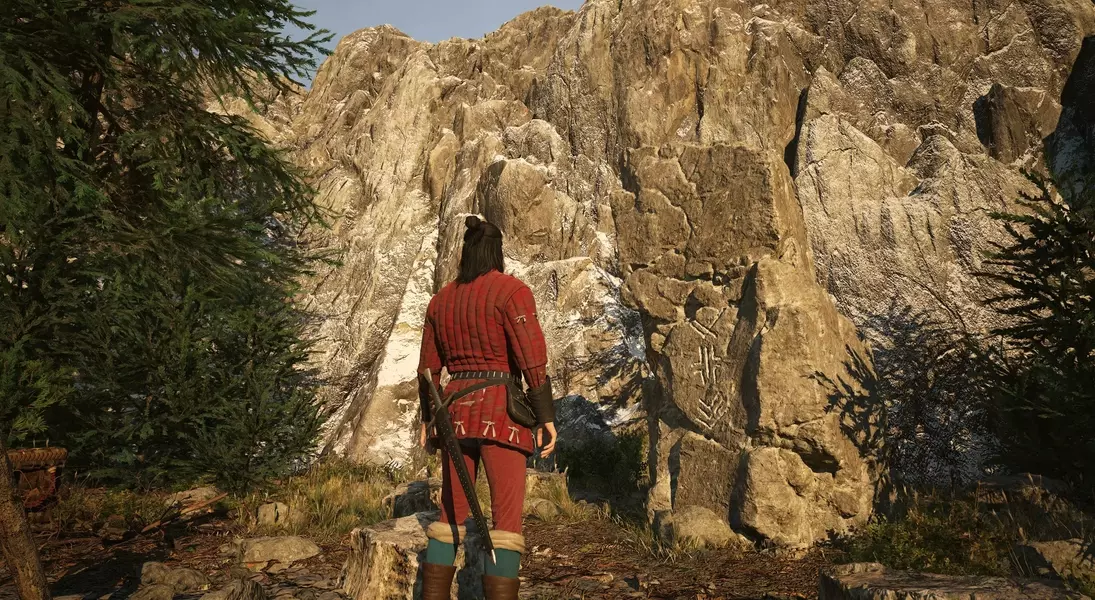
Once a sacred stone location is reached, either via map markers or independent discovery, players must follow the distinct sound of wind chimes using a focus mode. This path always culminates in a sacred stone, guarded by a trial that must be overcome. Each trial typically involves defeating an adversary or meticulously investigating a specific area. Successfully completing these challenges allows players to read the Uriashi glyph on the stone, rewarding them with a Ravenous Flock Manual. There are four such sacred stones, and collecting all manuals enables a full upgrade of the Ravenous Flock witchcraft ability at any shrine, provided sufficient skill points are available.
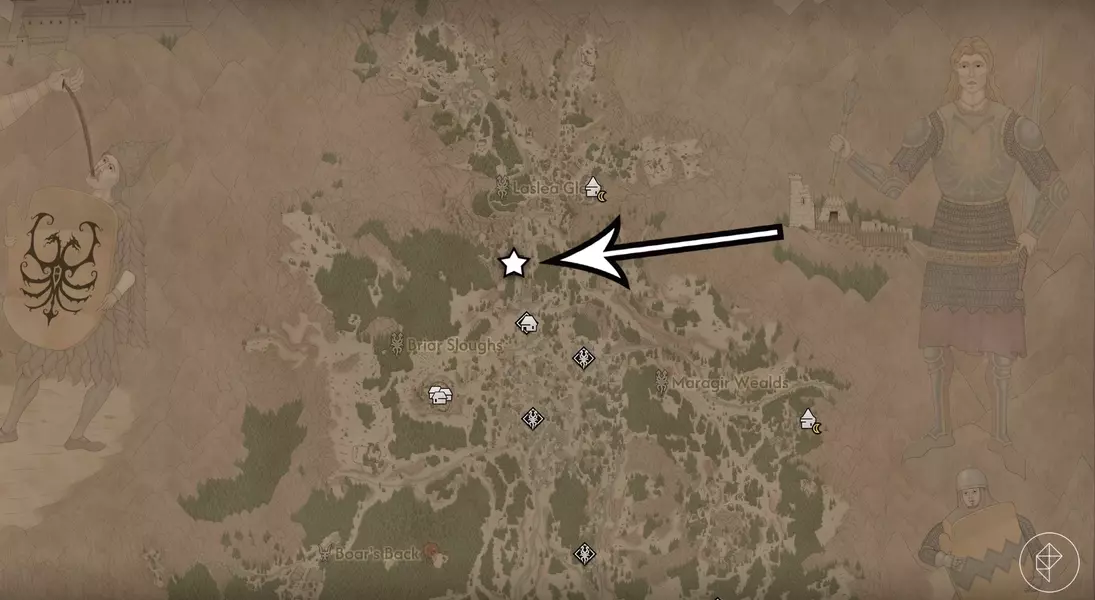
The first sacred stone, integral to 'A Pilgrimage for Power: Bear Trouble', lies in Briar Sloughs, southwest of Laslea Glen and north of Mert's Mill. After ascending a path and examining a small encampment, players will confront a Ravenous Bear. Defeating this formidable beast and inspecting the Uriashi corpse, the knife near the stone, and the stone itself, yields the first Ravenous Flock Manual.
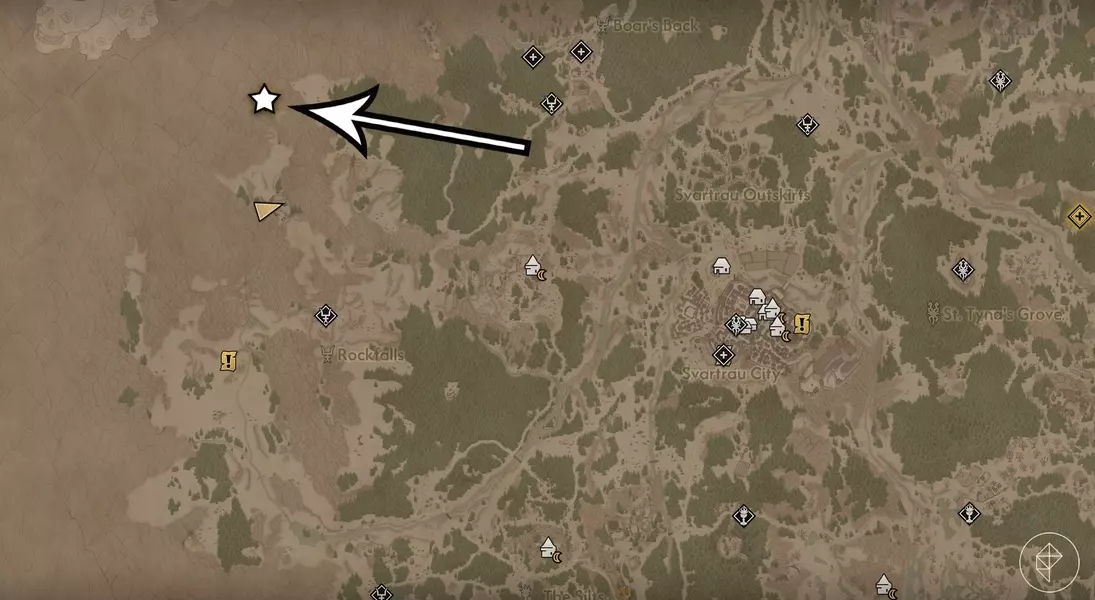
The second sacred stone, initiating 'A Pilgrimage for Power: Dark-Thing', is located on the western boundary of the map, west of Svartrau City. The optimal route involves traversing west from Boar's Back Tower, passing through Rocky Glade and Steep Steps Way shrines, and continuing north past Westridge Outpost. While Uriashi may engage you upon sight, players can choose to fight or bypass them. Further along, an Essence of Grief wraith will appear, whose defeat is necessary to access the stone. Interacting with two Uriashi at the stone's location and relaying the wraith's demise will grant access to the stone and another Ravenous Flock Manual.
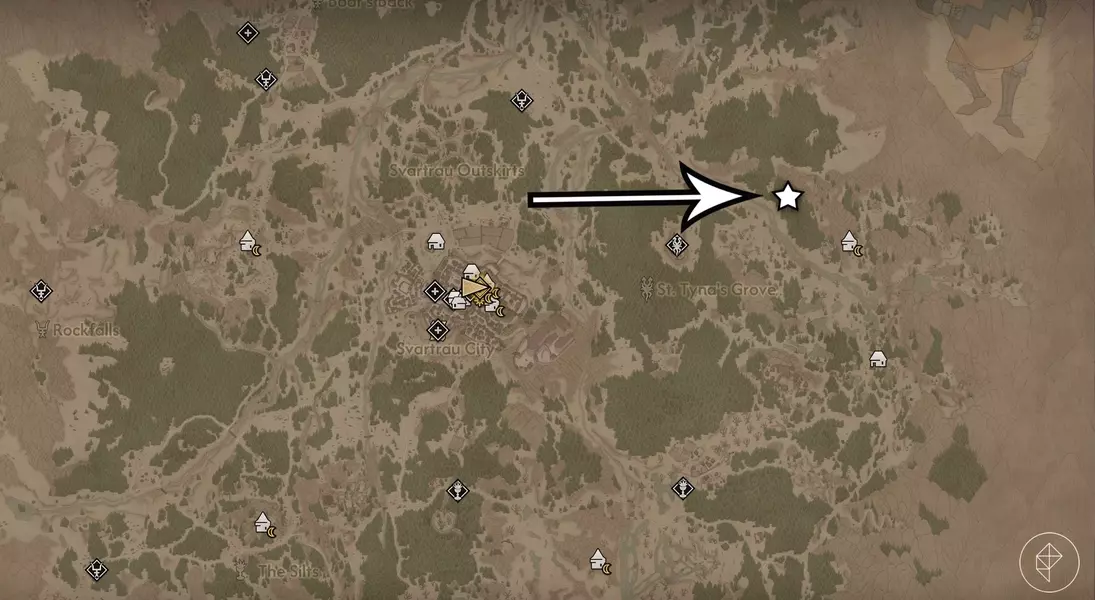
'A Pilgrimage for Power: Fanatics' starts in St. Tyna's Grove, situated east of Svartrau City, northwest of St. Tyna's Grove Tower, and slightly further northwest from the Old Inn. Following the wind chimes northeast, players will encounter three wolves before reaching a wooden cross and scattered remains. Interacting with the cross reveals a piece of paper with the Uriashi glyph, left by fanatics who destroyed the stone. An approaching Uriashi will then offer the Ravenous Flock Manual, regardless of whether you choose to fight him or agree with his stance on the fanatics.
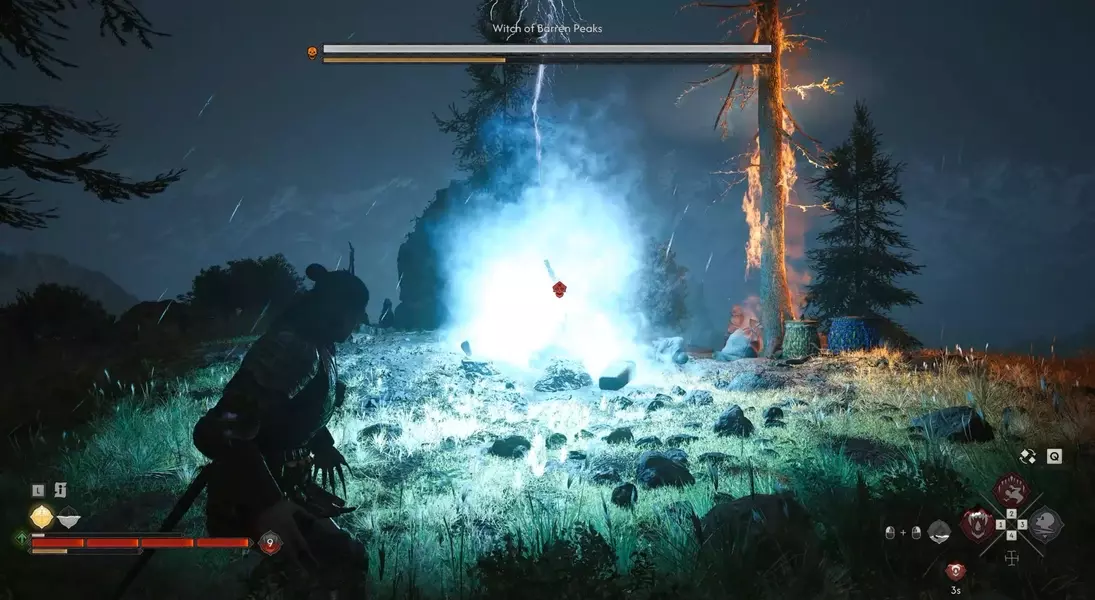
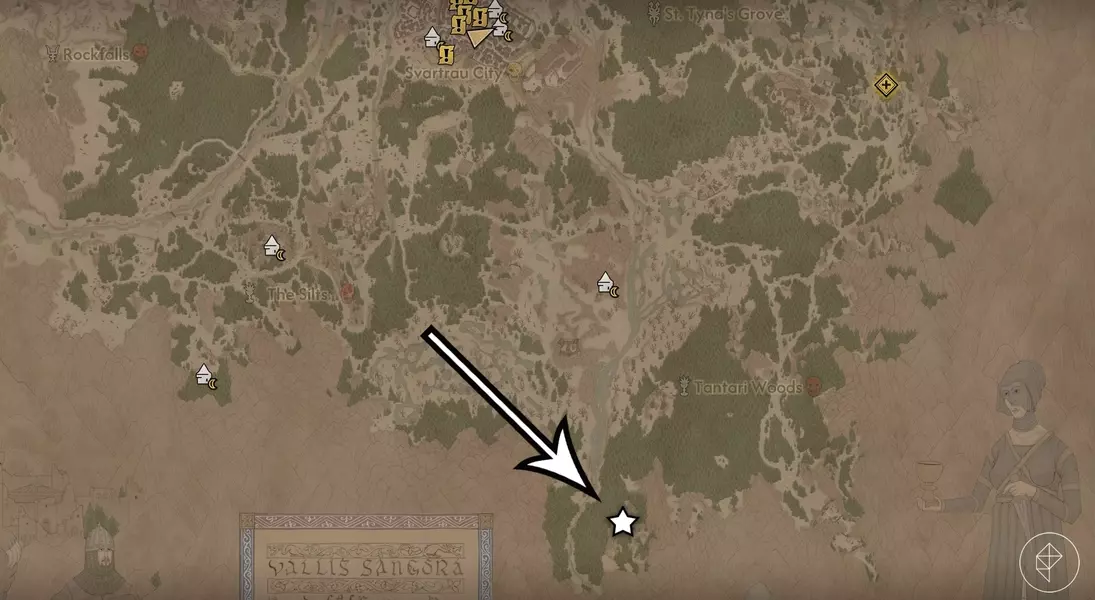
The fourth and final sacred stone, key to 'A Pilgrimage for Power: The Ritual', resides in the Tantari Woods, in the southern part of the map. Following the river south past Tantari Tower to the Vedera Spring shrine, and then heading east, leads to the stone. Here, players face the Witch of Barren Peaks, a particularly challenging foe known for her potent lightning attacks. Successfully defeating her, potentially utilizing the Voracious Bite ability, and interacting with the sacred stone after investigating her camp, grants the last Ravenous Flock Manual, thereby concluding 'A Pilgrimage for Power' in The Blood of Dawnwalker.
This quest, 'A Pilgrimage for Power', masterfully intertwines exploration, combat, and narrative choices, offering players a deep dive into the mystical lore of The Blood of Dawnwalker. The journey to collect the sacred stones not only enhances the player's abilities through the Ravenous Flock witchcraft but also provides a profound understanding of the game's world and its inhabitants. The choices made, whether in diplomacy or combat, subtly shape the player's experience, reflecting the game's emphasis on player agency. It's a reminder that true power often comes from both internal strength and a willingness to understand the world around you.